

Explore All Blogs | Insights on Smart Toilets & Bidets
Smart toilet installation guide for homeowners in 2026
Traditional toilets waste thousands of gallons of water annually and leave you relying on harsh toilet paper that irritates skin. Smart toilets solve both problems by combining automated cleaning features with eco-friendly flushing technology. This guide walks you through every step of installing a smart toilet in your home, from electrical safety checks to final testing. You’ll learn the tools you need, common mistakes to avoid, and how to maximize water savings while upgrading your bathroom hygiene. Whether you’re replacing an old toilet or building new, this practical roadmap ensures a successful installation.
Table of Contents
- Preparing For Smart Toilet Installation
- Step-By-Step Guide To Installing Your Smart Toilet
- Troubleshooting Common Installation Challenges
- What To Expect After Installing Your Smart Toilet
- Explore Smart Toilet Products And Solutions
- Frequently Asked Questions About Smart Toilet Installation
Key takeaways
| Point | Details |
|---|---|
| Electrical safety first | Smart toilets require GFCI-protected circuits to prevent shock hazards during operation. |
| Water efficiency gains | Modern smart toilets reduce water consumption by up to 30% compared to conventional models. |
| Tool preparation matters | Having adjustable wrenches, Teflon tape, and a GFCI tester ready prevents installation delays. |
| Follow manufacturer steps | Adhering to safety instructions protects your warranty and prevents costly damage. |
Preparing for smart toilet installation
Successful installation starts long before you touch a wrench. You need specific tools, proper electrical infrastructure, and a clear understanding of your bathroom’s current setup. Skipping preparation leads to mid-project trips to the hardware store or worse, electrical hazards that damage your new toilet.
Gather these essential tools before starting: adjustable wrench, basin wrench, screwdriver set, level, Teflon tape, flexible water supply line, bucket, towels, and safety gloves. You’ll also need a GFCI circuit tester to verify electrical safety. Most smart toilets include mounting hardware and wax rings, but confirm this in your product box.
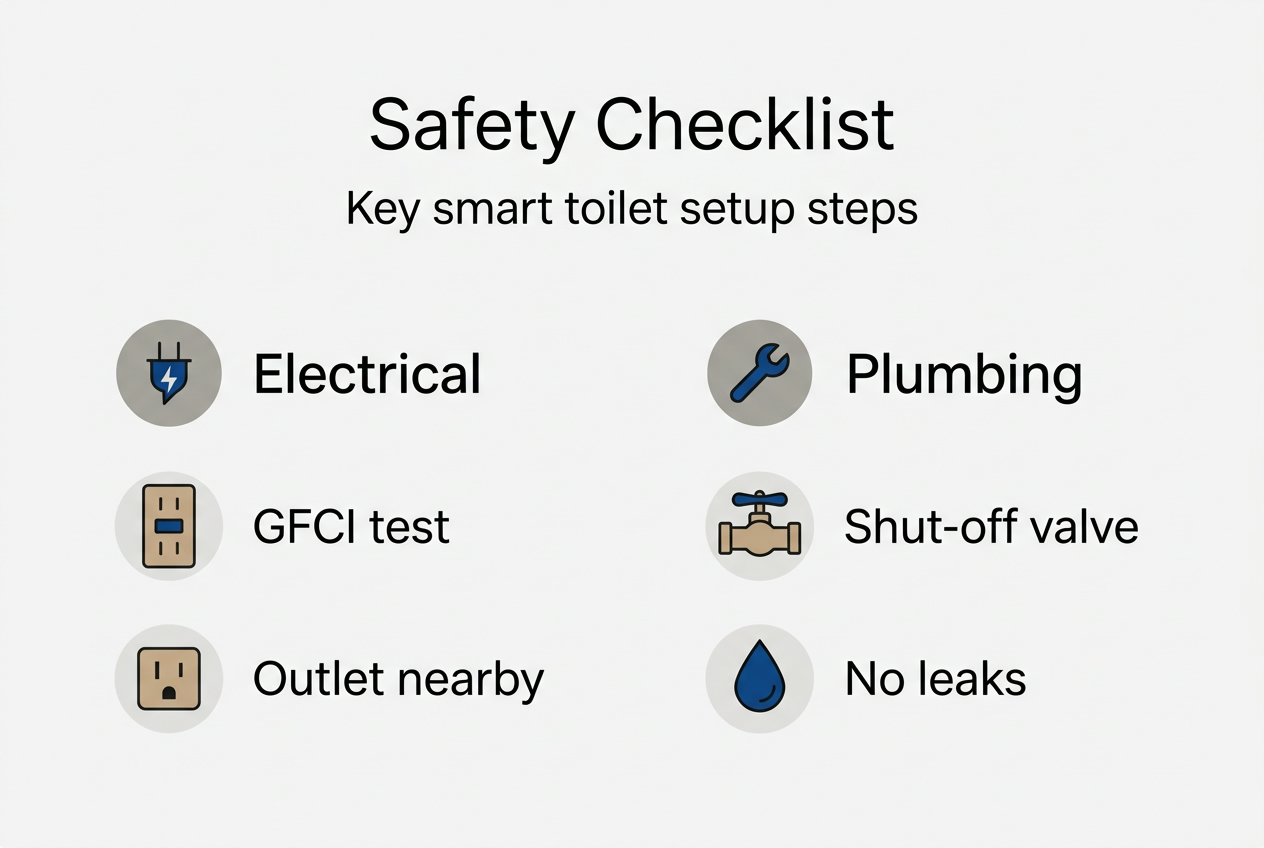
Your bathroom must have a GFCI-protected electrical outlet within reach of the toilet location. Following safety precautions prevents electric shock and product damage during installation. If your bathroom lacks GFCI protection, hire a licensed electrician to install one before proceeding. This non-negotiable safety feature detects current imbalances and cuts power instantly.
Check your water supply compatibility next. Locate the shut-off valve behind your existing toilet and turn it clockwise to stop water flow. Open the valve fully afterward to confirm it operates smoothly without leaking. Replace corroded or stuck valves now rather than mid-installation when water damage becomes a real risk.
Pro Tip: Test your electrical outlet with a GFCI tester before connecting anything. Press the test button to trip the circuit, then reset it to confirm proper function. This simple check catches faulty wiring that could fry your smart toilet’s electronics.
Review the manufacturer’s installation manual completely before starting. Each brand has specific requirements for clearances, electrical specs, and plumbing connections. TOTO, KOHLER, and other manufacturers provide detailed diagrams showing exact measurements from walls and fixtures. Missing these specifications means reinstalling everything when the toilet doesn’t fit properly.
Clear the work area of rugs, toiletries, and anything that could get wet or obstruct movement. You’ll be working in tight quarters, so maximize space around the toilet. Lay down old towels to catch water from supply lines and protect your floor from scratches when moving the toilet into position.
For additional context on installation fundamentals, explore bidet installation tips that apply to smart toilet setups. Understanding smart toilet technology explained helps you appreciate why each installation step matters for long-term performance.
| Preparation Task | Why It Matters | Time Required |
|---|---|---|
| GFCI outlet verification | Prevents electrical shock and component damage | 5 minutes |
| Tool gathering | Eliminates mid-project delays | 15 minutes |
| Water valve inspection | Avoids leaks and emergency shutoffs | 10 minutes |
| Manual review | Ensures compliance with warranty terms | 20 minutes |
Step-by-step guide to installing your smart toilet
With preparations complete, you’re ready for the actual installation. Work methodically through each step, double-checking connections before moving forward. Rushing causes leaks, electrical issues, and voided warranties that cost hundreds in repairs.
Step 1: Shut off water at the supply valve and unplug any nearby electrical devices. Flush your existing toilet to empty the tank and bowl. Use a sponge or shop vacuum to remove remaining water from the bowl and tank. Disconnect the water supply line with an adjustable wrench, keeping a bucket underneath to catch residual water.
Step 2: Remove the existing toilet by unscrewing the floor bolts at the base. Rock the toilet gently side to side to break the wax seal, then lift straight up. Have a helper assist with this step because toilets weigh 70 to 120 pounds depending on the model. Scrape away old wax from the flange with a putty knife and inspect the flange for cracks or damage.
Step 3: Position the new wax ring on the flange, ensuring the tapered side faces the toilet base. Carefully lower the smart toilet onto the flange, aligning the bolt holes precisely. Press down firmly to compress the wax seal and create a watertight connection. Thread the floor bolts through the base and hand-tighten the nuts, then use a wrench to secure them evenly. Avoid overtightening, which can crack the porcelain base.

Step 4: Connect the water supply line to the toilet’s inlet valve, wrapping threads with Teflon tape for a leak-free seal. Turn on the water supply slowly and watch for drips at connection points. Tighten slightly if you see moisture, but don’t force connections that resist. Check underneath the tank and around the base for any water seepage.
Step 5: The product must be connected to a GFCI-protected electrical circuit to prevent shock. Plug the smart toilet’s power cord into the verified GFCI outlet. You should hear electronic components initialize, and the control panel will light up. Never handle electrical connections with wet hands or while standing in water.
Step 6: Test all electronic functions according to the manufacturer’s manual. Activate the bidet spray, heated seat, automatic flush, and deodorizer to confirm proper operation. Run a full flush cycle and verify the bowl refills to the correct water level. Check that remote controls pair successfully and respond to commands.
Pro Tip: Enlist a helper to stabilize the toilet while you align bolt holes and make connections. One person can hold the unit level while the other secures hardware, preventing misalignment that causes rocking or leaks.
Explore smart toilet features and benefits to understand what each function does during testing. For TOTO models specifically, review the TOTO Neorest installation guide for brand-specific tips. Always keep official installation instructions nearby for reference during setup.
Troubleshooting common installation challenges
Even careful installations hit snags. Recognizing common problems early prevents water damage, electrical hazards, and warranty complications. Most issues trace back to rushed connections or skipped verification steps.
Electrical shock risk tops the danger list. If you feel tingling when touching the toilet or see sparks near the outlet, immediately unplug the unit and call an electrician. The outlet may lack proper grounding or the GFCI protection failed. Never bypass electrical safety to finish installation faster. Following precautions helps avoid product damage and ensures user safety.
Water leakage appears in three common spots: the supply line connection, the wax seal at the base, or the tank-to-bowl gasket. For supply line leaks, tighten the compression nut one-quarter turn and recheck. Base leaks require removing the toilet, replacing the wax ring, and reinstalling with proper alignment. Tank leaks mean the gasket wasn’t seated correctly during assembly.
Improper seat fitting happens when you skip measuring clearances before purchase. Smart toilets need specific distances from walls and adjacent fixtures. If the seat hits the wall or the lid won’t open fully, you’ll need to reposition the toilet or choose a compact model. Check manufacturer specs for rough-in dimensions, typically 12 inches from the wall to the center of the drain.
Verify outlet grounding by using a three-prong tester with indicator lights. The correct pattern shows two amber lights, confirming hot, neutral, and ground wires are properly connected. Any other pattern means faulty wiring that requires professional repair before plugging in your smart toilet.
Incorrect water pressure causes weak flushes or spray functions that barely work. Most smart toilets need 20 to 80 PSI to operate correctly. Install a pressure gauge on your supply line to measure actual PSI. If pressure runs low, consider a booster pump. High pressure requires a reducer valve to prevent component damage.
Power interruptions during initial setup can scramble electronic settings. If the toilet won’t respond after a power outage, locate the reset button (usually under the seat or on the side panel) and hold for 10 seconds. This clears temporary glitches and restores factory defaults.
| Common Error | Quick Fix | Prevention Tip |
|---|---|---|
| Leaking supply line | Tighten nut one-quarter turn | Use Teflon tape on threads |
| Rocking toilet base | Shim low spots with plastic shims | Level flange before setting toilet |
| Non-responsive controls | Press reset button for 10 seconds | Verify power before testing features |
| Weak bidet spray | Check water pressure with gauge | Install pressure booster if below 20 PSI |
Understanding smart toilet benefits and cost helps you decide whether to troubleshoot yourself or call professionals. Review installation safety warnings whenever you encounter unexpected behavior during setup.
What to expect after installing your smart toilet
Your newly installed smart toilet transforms daily bathroom routines with features that enhance cleanliness and reduce environmental impact. Understanding what happens next helps you maximize these benefits and maintain optimal performance for years.
Cleaning functions activate automatically or on demand depending on your model. The bidet spray uses adjustable water temperature and pressure to provide thorough cleansing without toilet paper. Heated seats warm to your preferred temperature in seconds, while built-in deodorizers neutralize odors using carbon filters or UV light. Automatic flush sensors detect when you stand, eliminating the need to touch handles.
Water-saving flush modes let you choose between full and partial flushes based on waste type. Dual flush systems use as little as 0.8 gallons for liquid waste compared to 1.6 gallons in standard toilets. Over a year, a family of four saves approximately 8,000 gallons by switching to smart toilet technology. These savings translate directly into lower water bills and reduced environmental strain.
The product carries a three-year limited warranty to cover defects in materials and workmanship. Register your toilet within 30 days of installation to activate coverage. The warranty typically excludes damage from improper installation, so keep your installation photos and receipts as proof of correct setup. Most manufacturers offer extended warranties for purchase at the time of sale.
Maintenance requirements stay minimal with regular attention. Clean the nozzle monthly using the self-cleaning cycle, then wipe with a soft cloth and mild cleaner. Descale the spray wand every three months in hard water areas to prevent mineral buildup. Replace air filters annually to maintain deodorizer effectiveness. Never use abrasive cleaners or harsh chemicals that damage electronic components or scratch surfaces.
Energy efficiency exceeds traditional toilets because smart models use LED lighting and standby modes that consume less than 5 watts when idle. Heated seats and water heaters operate only when needed, unlike constantly running tank heaters in older bidet systems. Annual electricity costs typically range from $15 to $30 depending on usage patterns and local utility rates.
User benefits extend beyond hygiene and savings:
- Improved comfort for individuals with mobility limitations or arthritis
- Reduced skin irritation from eliminating abrasive toilet paper
- Enhanced bathroom cleanliness through touchless operation
- Nighttime convenience with motion-activated lighting
- Increased home resale value with modern bathroom amenities
- Environmental benefits from eliminating toilet paper waste
Explore premium options like the TOTO WASHLET G5A smart toilet that combines all these features in one sleek design. Discover smart toilet popularity trends showing why more homeowners choose these upgrades. Review KOHLER warranty details to understand exactly what protection you receive.
Explore smart toilet products and solutions
Upgrading to a smart toilet represents a significant investment in home comfort and sustainability. Premium Bidet simplifies this decision by offering curated selections of top-rated models from TOTO, Bio Bidet, and other trusted manufacturers. Each product includes detailed specifications, installation support, and customer reviews to guide your choice.

Browse best selling smart toilets to see which models other homeowners prefer for reliability and features. If you’re not ready for a full toilet replacement, explore bidet toilet seats that add smart functionality to your existing fixture. The platform’s U.S.-based customer support team answers technical questions and helps match products to your specific bathroom requirements. Free shipping and comprehensive warranties protect your purchase, while the tree-planting program offsets environmental impact with every order. Visit smart toilet technology explained to compare features and find the perfect upgrade for your home.
Frequently asked questions about smart toilet installation
How long does smart toilet installation typically take?
Most installations take 2 to 4 hours for homeowners with basic plumbing skills. Professionals complete the job in 1 to 2 hours. Complex situations like relocating electrical outlets or replacing damaged flanges add time.
Is a professional electrician recommended?
Hire an electrician if your bathroom lacks a GFCI outlet near the toilet or you’re uncomfortable working with electrical connections. Licensed professionals ensure code compliance and protect your warranty. DIY installation works fine when proper GFCI protection already exists.
Can I install a smart toilet in any bathroom?
You need adequate space, a nearby GFCI outlet, and compatible plumbing rough-in dimensions. Measure from your wall to the drain center, typically 12 inches for standard toilets. Small powder rooms may lack clearance for larger smart toilet models.
What maintenance is required after installation?
Clean the bidet nozzle monthly, replace air filters annually, and descale components in hard water areas every three months. Run self-cleaning cycles weekly to prevent buildup. These simple tasks take less than 10 minutes monthly and ensure reliable operation.
What warranty coverage is typical for smart toilets?
Most manufacturers provide three to five-year limited warranties covering defects but excluding installation damage or normal wear. Extended warranties often cover electronics and mechanical parts beyond the standard period. Register your product within 30 days to activate full coverage. Check TOTO Neorest installation details for brand-specific warranty terms.
Recommended
- Why More Americans Are Installing Smart Toilets in 2025 | Premium Bidet– Smart Toilets & Bidet Seats | Premium Bidet
- Smart Toilets & Bidet Seats | Premium Bidet
- Are Smart Toilets Worth It in 2025? Features, Costs & Benefits– Smart Toilets & Bidet Seats | Premium Bidet
- What Does a Smart Toilet Do? Top Features and Benefits– Smart Toilets & Bidet Seats | Premium Bidet
Leave a comment